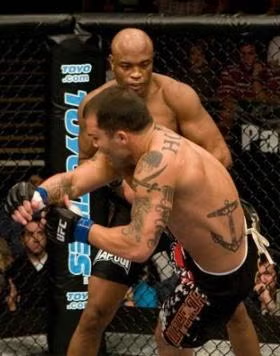
BARE AND BRAWL / MMAJames Irvin vs Terry Martin
UFC 54: Boiling Point
Light Heavyweight
“The Sandman”
🇺🇸 United States
win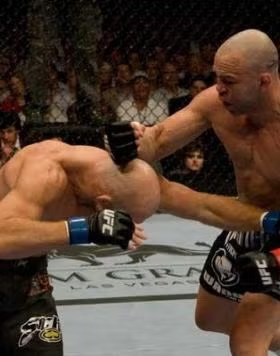
🇺🇸 United States
lossKO/TKO · ROUND 2 · 0:09
Tape uses current supplied profiles, not measurements reconstructed for the bout date.
Fight totals
| James Irvin | FIGHT STATISTICS | Terry Martin |
|---|
| 6 of 7 | Significant strikes | 12 of 13 |
|---|
| 9 of 10 | Total strikes | 33 of 34 |
|---|
| 1 | Knockdowns | 0 |
|---|
| 0 of 0 | Takedowns | 2 of 4 |
|---|
| 0 | Sub. attempts | 0 |
|---|
| 0 | Reversals | 0 |
|---|
| 0:04 | Control | 4:46 |
|---|
| 3 of 4 | Head | 8 of 9 |
|---|
| 1 of 1 | Body | 4 of 4 |
|---|
| 2 of 2 | Leg | 0 of 0 |
|---|
| 4 of 5 | Distance | 0 of 0 |
|---|
| 2 of 2 | Clinch | 3 of 3 |
|---|
| 0 of 0 | Ground | 9 of 10 |
|---|
Round by round
Round 1
| James Irvin | FIGHT STATISTICS | Terry Martin |
|---|
| 5 of 6 | Significant strikes | 12 of 13 |
|---|
| 8 of 9 | Total strikes | 33 of 34 |
|---|
| 0 | Knockdowns | 0 |
|---|
| 0 of 0 | Takedowns | 2 of 4 |
|---|
| 0 | Sub. attempts | 0 |
|---|
| 0 | Reversals | 0 |
|---|
| 0:00 | Control | 4:46 |
|---|
| 2 of 3 | Head | 8 of 9 |
|---|
| 1 of 1 | Body | 4 of 4 |
|---|
| 2 of 2 | Leg | 0 of 0 |
|---|
| 3 of 4 | Distance | 0 of 0 |
|---|
| 2 of 2 | Clinch | 3 of 3 |
|---|
| 0 of 0 | Ground | 9 of 10 |
|---|
Round 2
| James Irvin | FIGHT STATISTICS | Terry Martin |
|---|
| 1 of 1 | Significant strikes | 0 of 0 |
|---|
| 1 of 1 | Total strikes | 0 of 0 |
|---|
| 1 | Knockdowns | 0 |
|---|
| 0 of 0 | Takedowns | 0 of 0 |
|---|
| 0 | Sub. attempts | 0 |
|---|
| 0 | Reversals | 0 |
|---|
| 0:04 | Control | 0:00 |
|---|
| 1 of 1 | Head | 0 of 0 |
|---|
| 0 of 0 | Body | 0 of 0 |
|---|
| 0 of 0 | Leg | 0 of 0 |
|---|
| 1 of 1 | Distance | 0 of 0 |
|---|
| 0 of 0 | Clinch | 0 of 0 |
|---|
| 0 of 0 | Ground | 0 of 0 |
|---|
UFC profile statistics and overall MMA records have different coverage. A dash means unavailable, not zero.
← Back to event